How to add a spotting-guide
Thanks a lot for your interest in writing a guide!
Before you start please get in contact with us via our contact form or our social media channels and tell us about your intention. Then read the FAQ below carefully. Spotterguide.net has some standards for its guides to keep a structure on the website. Every report is splitted into serveral parts. At the beginning there is a small introducion of the airport followed by a table with general information. Thereafter is a google map with all the spots. And last but not least there is a detailed description of each spotting location, including sample pictures.
Please keep in mind that you know at least 2-3 spotting locations. If its a big airport you should have spots for every runway.
THANKS A LOT FOR YOUR ATTENTION AND SUPPORT!
-spotterguide.net team
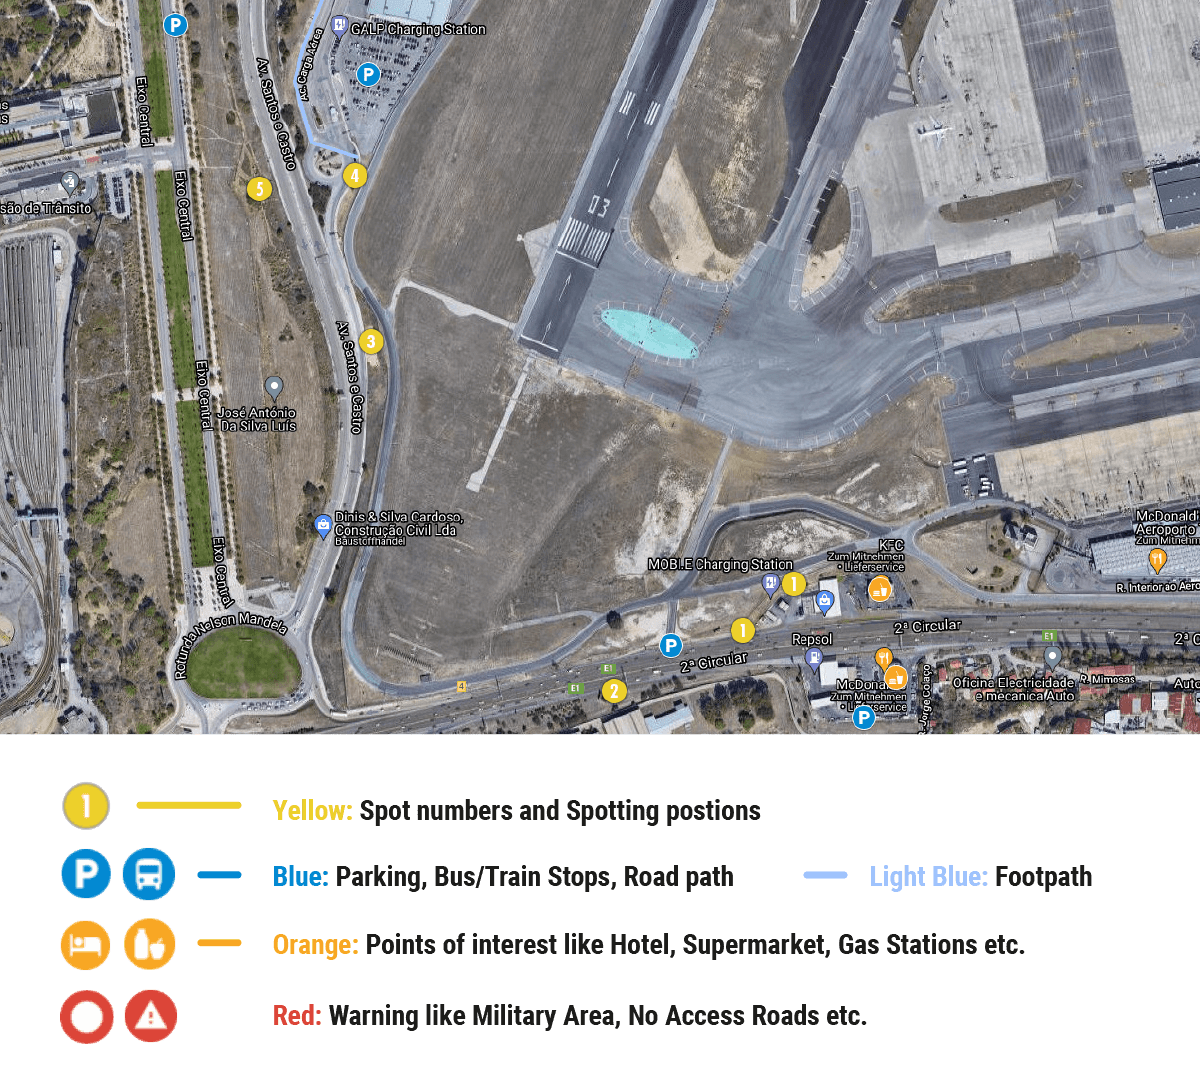
1. Set the placemarks manually to the map and name each spot like this: Spot #1 - Name of the spot - What you get / e.g.: Spot #6 - Meteo - 09R Departures
2. The yellow number icons will be add from our Editors.
3. Keep the postions in a row/clockwise or counterwise around the airport perimeter. Start with the most popular spotting location.
4. Try to keep the number of locations low and don`t put every single apron postion into the map. Combine postions if they are close to each other and offering the same sight.
5. Add placemarks like (spotting) hotels, bus stations, car parking or even a footh path if you have to walk some meters to a spot.
The guide itself is splitted into several parts as follow:
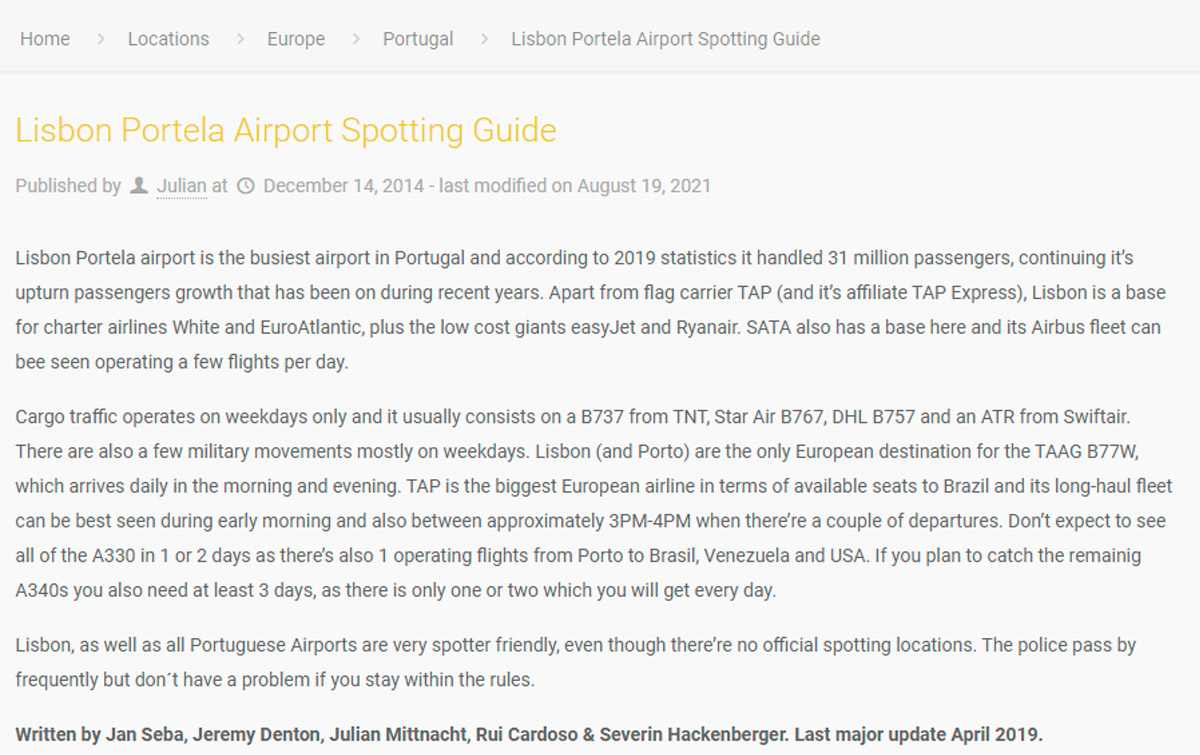
1. At the beginning of each guide there is a short introduction which should contain the following infos (don´t copy text from Wiki!)
This shall include general information and data, movements (which airlines and flights operate to/from), perhaps some short historical info, statistics and info on further developments. Personal impressions of your spotting trip to the airportevery useful information that doesn´t fit into the tables and last but not least your name and the date when you have visited the airport.
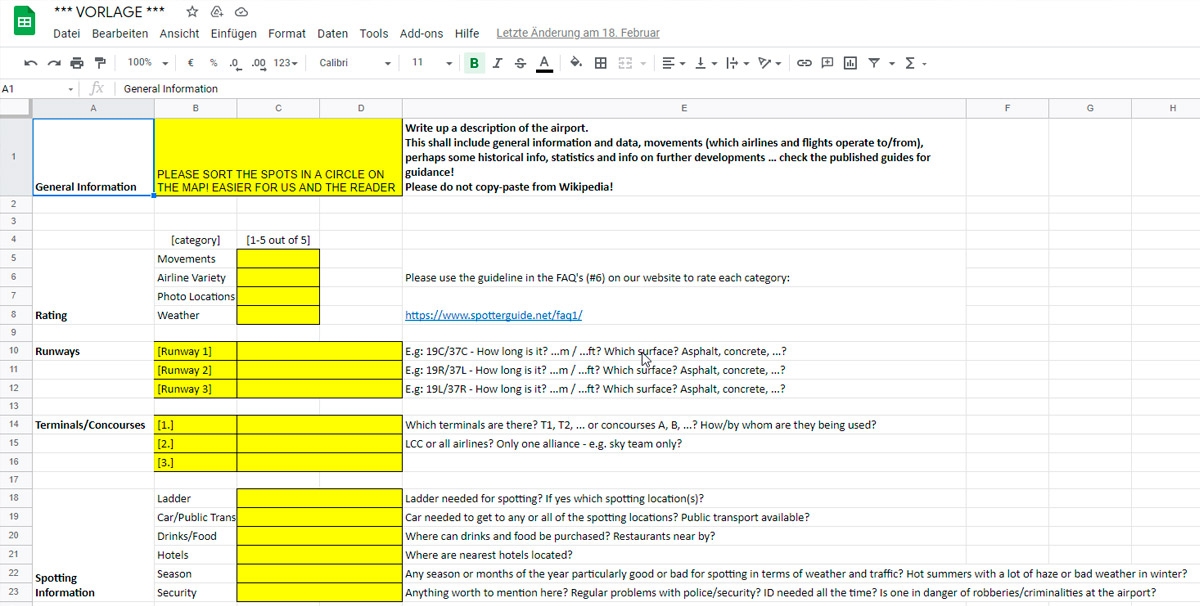
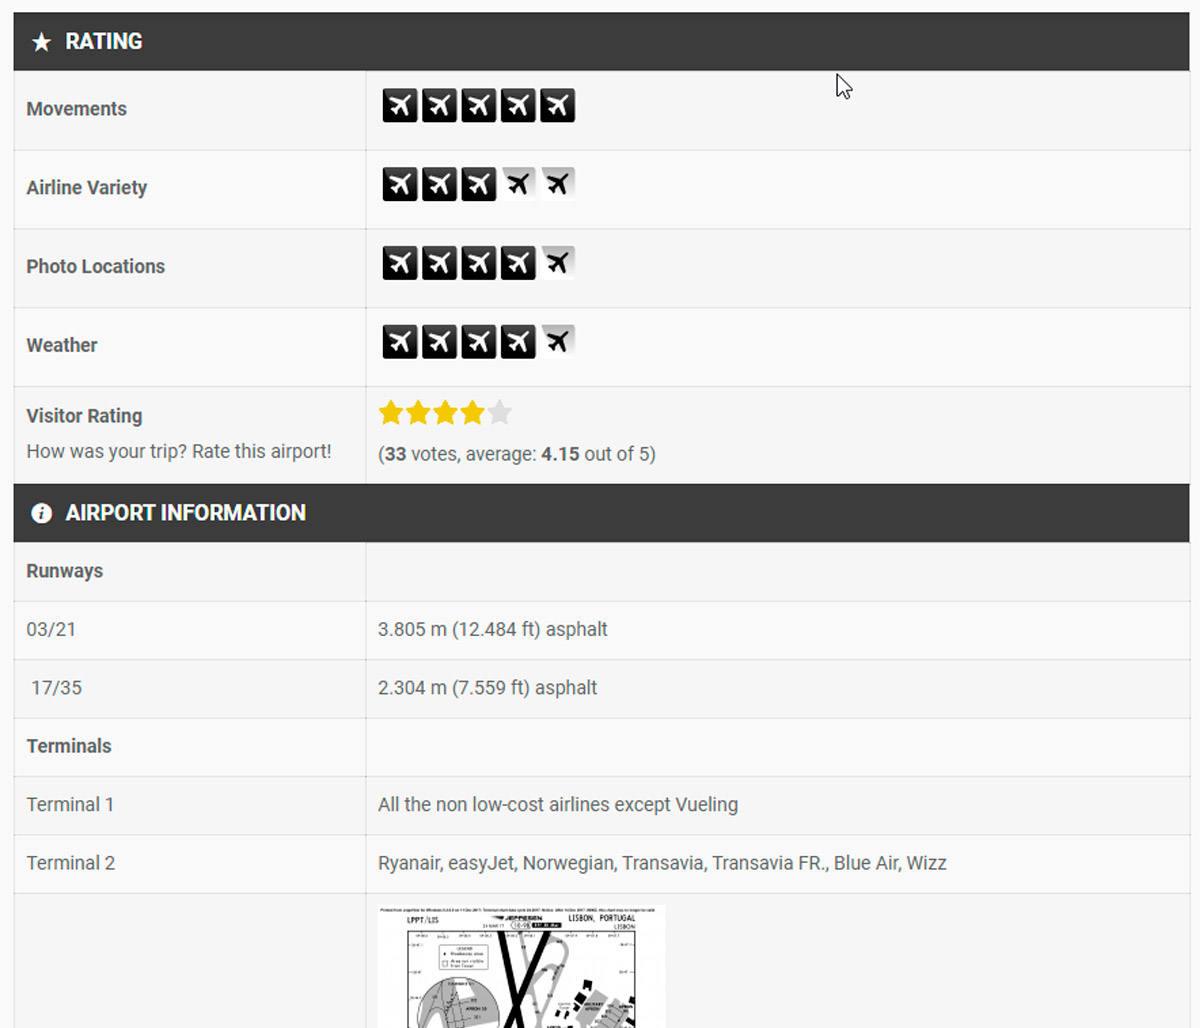
2. Thereafter is a table with some general infos about the airport and its spotting locations.
Rating, Runways, Terminals, Ladder and Car needed? Public Transport system? Where are the nearest Stores & Hotels? Whats the best sesason to travel to the airport? Security infos. Runway usage. Is there are system for dep. and arr., which RWY is most in use. Every info which is helpful.
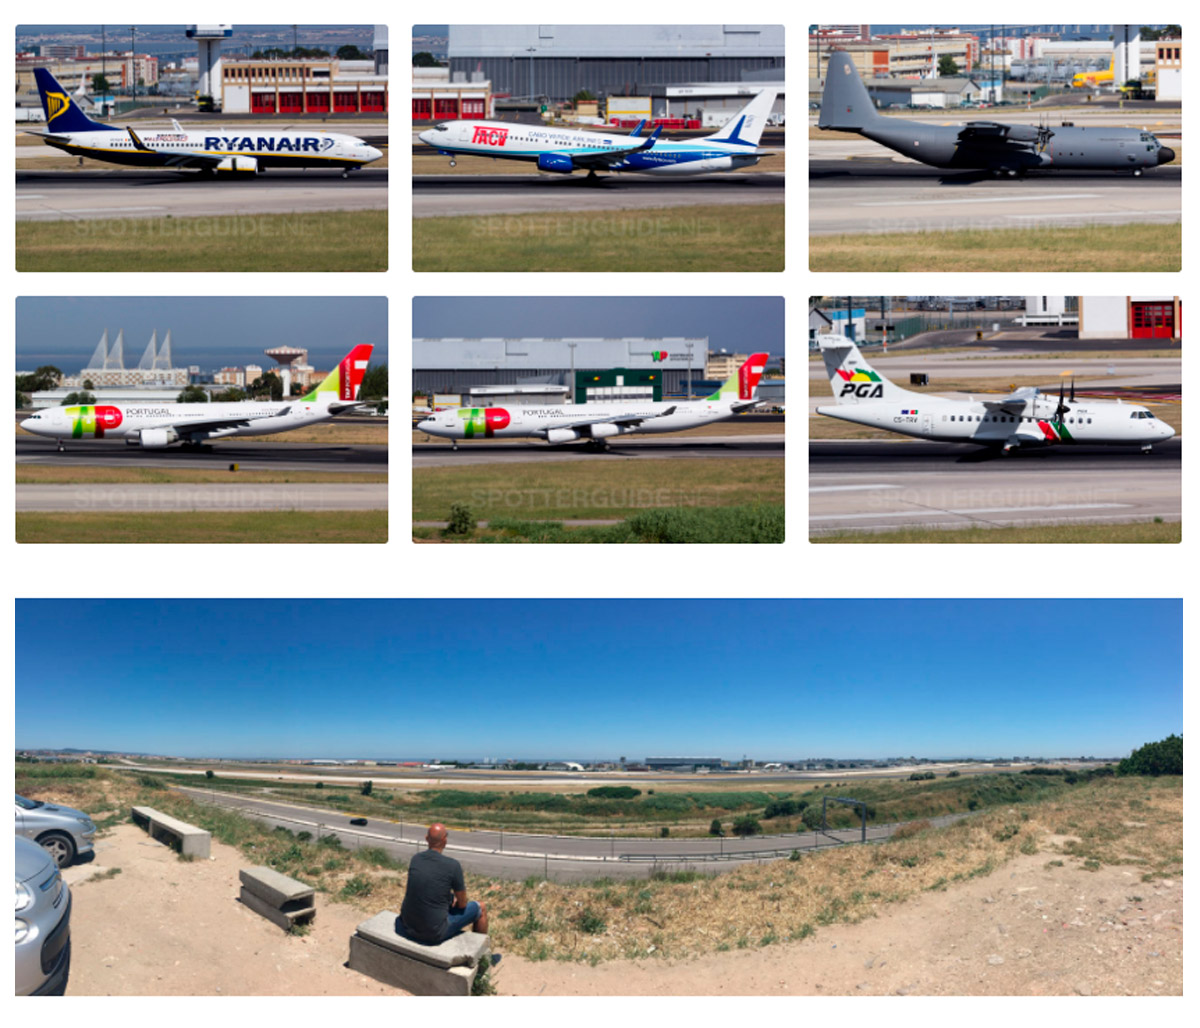
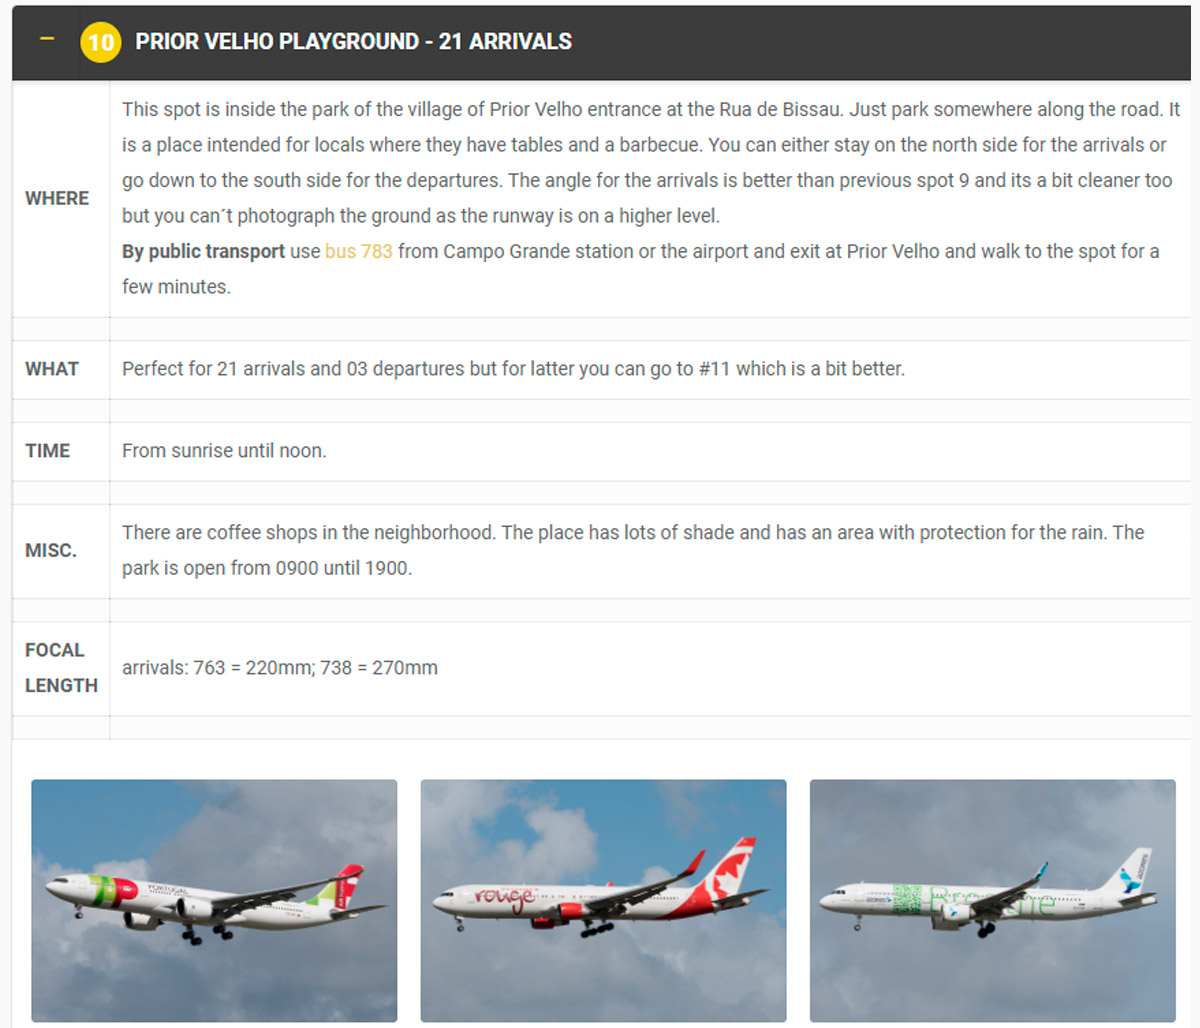
3. Now you can start with each several spotting location. In the head of the table please use thesame text you have used for the map (spot #1 - Name of the spot - What to get there)
Where: This explanes where the spot is located. Name of a road, next to a known landmark etc. A description how to get there (car, public transport) is always useful and where you can park your car too. Also mention where you will stand there, on a hill/platform, in a forrest, is there a fence (ladder needed?) etc.
If your spot is on a visitor terrasse its good to know if there are windows, security checks, entrance fee, opening hours etc. What: This just says which movements you can see at this location. Sometimes its possible that a runway is dominated by flights from a special airline because they are located next to their terminal or its depending on the direction/country where the airline is coming from.
Time: Whats the best time for spotting at this location. E.g. Morning until evening etc. or even the exact time 06:00 until 14:00
Miscellaneous: everything else what is worth to mention. Restrooms or shops next to the spot. In hot countries is there something that spend some shadow? Something to sit down? Security informations?
Focal Lenght: Whats the EXACT focal length that you have used for the sample pictures (crop sensor camera). Which camera lens you use is unimportant
You can either send us the photos by email or by creating a google drive folder. Please name the photos/folders so we can assign them to each location.
If possible please provide us some overview photos of the locations itself. A panorama photo would be perfect or even a short movie of the location. Picture size should be at least 2000px width.